
The Rough-In Walk-Through: Your First Real Look Inside the Walls
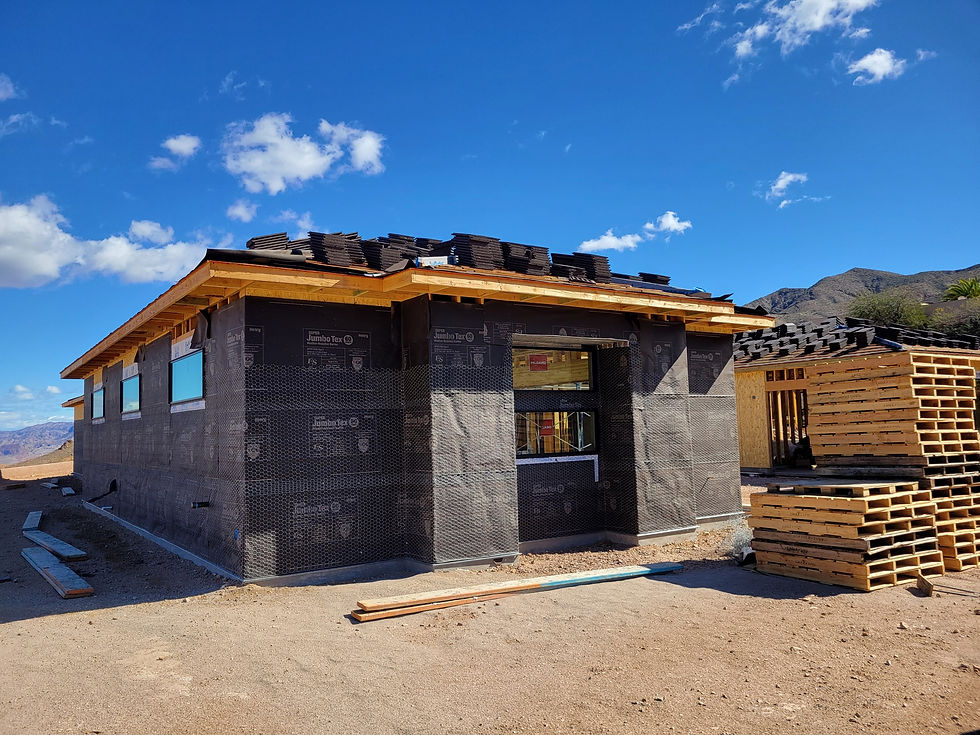
Somewhere in the middle of a build, right after framing and right before drywall closes everything up for good, there's a walk-through that matters more than almost any other meeting on the calendar. This is the point where the electrical and plumbing rough-in is going in — wires, boxes, pipes, and vents are all exposed and visible — and it's the last real chance to see the guts of the house before they disappear behind walls for the next several decades.
What This Walk-Through Actually Is
"Rough-in" refers to the early stage of electrical and plumbing work, before fixtures, outlets, switches, and finished plumbing get installed. At this stage, you'll see:
Electrical wiring run through the studs, with boxes marking where outlets, switches, and light fixtures will eventually sit
Plumbing pipes stubbed out where sinks, tubs, toilets, and showers will connect
HVAC ductwork taking shape
Low-voltage wiring, if it's part of the plan — speakers, security, networking, smart home components
The builder or superintendent walks the site with you, room by room, pointing out where everything is headed and confirming it matches what was planned. It's one of the few times during a build where the entire skeleton of the house is visible at once, which makes it uniquely useful — and also uniquely easy to get overwhelmed by.
What to Actually Expect
Bring a notepad, your phone for photos, and comfortable shoes, because this walk takes a while if you do it right. A few things to expect:
It'll look like more wire than you imagined. Exposed wiring bundled through studs looks chaotic even when it's done correctly. Don't panic at the visual; ask questions about placement and function instead of judging it by how tidy it looks.
Outlet and switch heights get confirmed here. Standard heights are common for a reason, but if you have a strong preference — switches at a different height, an outlet moved because furniture placement changed since the plans were drawn — this is the moment to flag it, not after drywall.
You'll be asked to confirm fixture locations one more time. Pendant lights over an island, sconces flanking a mirror, a ceiling fan location — anything mounted needs blocking installed behind the drywall now, which means confirming exact placement before it's too late to add support.
Plumbing vent and drain locations get a final check. This matters most for anything unusual — a soaking tub in an odd spot, a wet bar, an outdoor kitchen sink — since plumbing runs are far more expensive to move later than electrical.

Decisions That Tend to Come Up
This walk-through has a way of surfacing decisions that felt settled on paper but suddenly need a second look in person.
Additional outlets. Once you can see where furniture, TVs, and workstations will actually sit, it's common to want a few more outlets than originally planned — especially in home offices, kitchens, and primary bedrooms.
USB and smart outlets. If this wasn't decided earlier, it typically needs to be locked in now, since the wiring behind certain outlet types differs.
Exterior outlet placement. Landscape lighting, holiday lights, a future hot tub — outdoor outlet locations are easy to forget on paper and easy to fix right now.
Low-voltage and networking. Ethernet drops, security camera wiring, speaker prewiring — all of it needs to happen before drywall, and it's genuinely one of the most regretted skips if it's left out.
Lighting layout adjustments. Recessed can placement, under-cabinet lighting runs, and dimmer switch locations are often easier to visualize accurately at this stage than they were on a lighting plan.
Water line prep for future appliances. A water line for a future refrigerator ice maker, a bar sink, or an outdoor kitchen is far cheaper to rough in now than to retrofit later.
Upgrades That Often Get Discussed Here
Builders and electricians tend to bring up a handful of upgrade options specifically at this stage, since it's the last practical window to add them without real demolition costs:
Panel upgrades or additional circuits, particularly if a workshop, EV charger, or major future appliance is anywhere on the horizon
Whole-house surge protection, installed at the panel level
Structured wiring panels, which centralize networking and low-voltage wiring for easier troubleshooting down the line
Water softener or filtration loop prep, even if the actual system is being added later
Additional HVAC zoning or returns, if certain rooms were a concern in the original plans
Recirculating hot water lines, especially useful in a larger home where hot water taking too long to reach a far bathroom is a common complaint after move-in
None of these are mandatory, and every one of them adds cost. But the pattern holds across almost every build: it's dramatically cheaper to say yes now than to retrofit any of it after drywall goes up.
How to Get the Most Out of the Walk
Bring the plans with you, printed or on a tablet, and physically trace what you're seeing back to what was drawn. Discrepancies are far easier to catch in person than they are to imagine from a floor plan.
Take photos of everything, labeled by room if possible. This becomes an unexpectedly useful reference later — both for your own memory and for any future renovation, since it shows exactly what's behind the wall before it's covered.
Ask about anything that looks off, even if it turns out to be nothing. This is the cheapest possible moment to raise a concern. After drywall, the same fix involves cutting into a finished wall.
Don't try to make every upgrade decision on the spot. It's reasonable to ask for a day or two to think through cost-adjacent upgrades, as long as the timeline allows it. Most builders would rather give you a short window to decide than have you rush into (or rush past) something you'll regret.
The Bottom Line
The rough-in walk-through is one of the few moments in a build where you can actually see the decisions of the last several months turning into something physical — and it's the last real opportunity to change course before the walls close in for good. Walking it slowly, asking every question that comes to mind, and treating the small upgrade offers seriously is what separates the homeowners who feel good about their walls years later from the ones wishing they'd asked for one more outlet.


Comments